> ## Documentation Index
> Fetch the complete documentation index at: https://mintlify-docs-automation-github-pr-review.mintlify.site/llms.txt
> Use this file to discover all available pages before exploring further.
# 预览部署
> 为每个拉取请求获取唯一的预览 URL,让审阅者可以在实时环境中查看文档更改,然后再合并到生产环境。
预览部署可让你在合并到生产环境之前先查看文档更改的实际效果。每次预览都会生成一个可共享的 URL,并会在你推送新更改时自动更新。
预览 URL 默认对所有人可见。将预览链接分享给任何需要审阅你更改的人。
## 创建预览部署
预览部署会在拉取请求 (PR;亦称“合并请求”/Merge Request) 中自动创建,或可从你的控制台手动创建。
### 自动预览
仅针对目标为你的[部署用分支](/zh/guides/git-concepts#deployment-branch)的拉取请求 (PR) ,才会自动创建预览。
当你创建拉取请求时,Mintlify 机器人会自动在拉取请求中添加一个链接,供你查看预览部署。每次你向该分支推送新的提交时,预览都会更新。


### 手动预览
你可以为任意 branch 手动创建预览。
1. 前往你的[控制台](https://dashboard.mintlify.com/)。
2. 选择 **Previews**。
3. 选择 **Create custom preview**。
4. 输入要预览的 branch 名称。
5. 选择 **Create preview**。
### API
你也可以使用 [Trigger preview deployment](/zh/api/preview/trigger) API 端点以编程方式创建预览部署。这对于将预览创建集成到 CI/CD 流水线或自定义工具中非常有用。
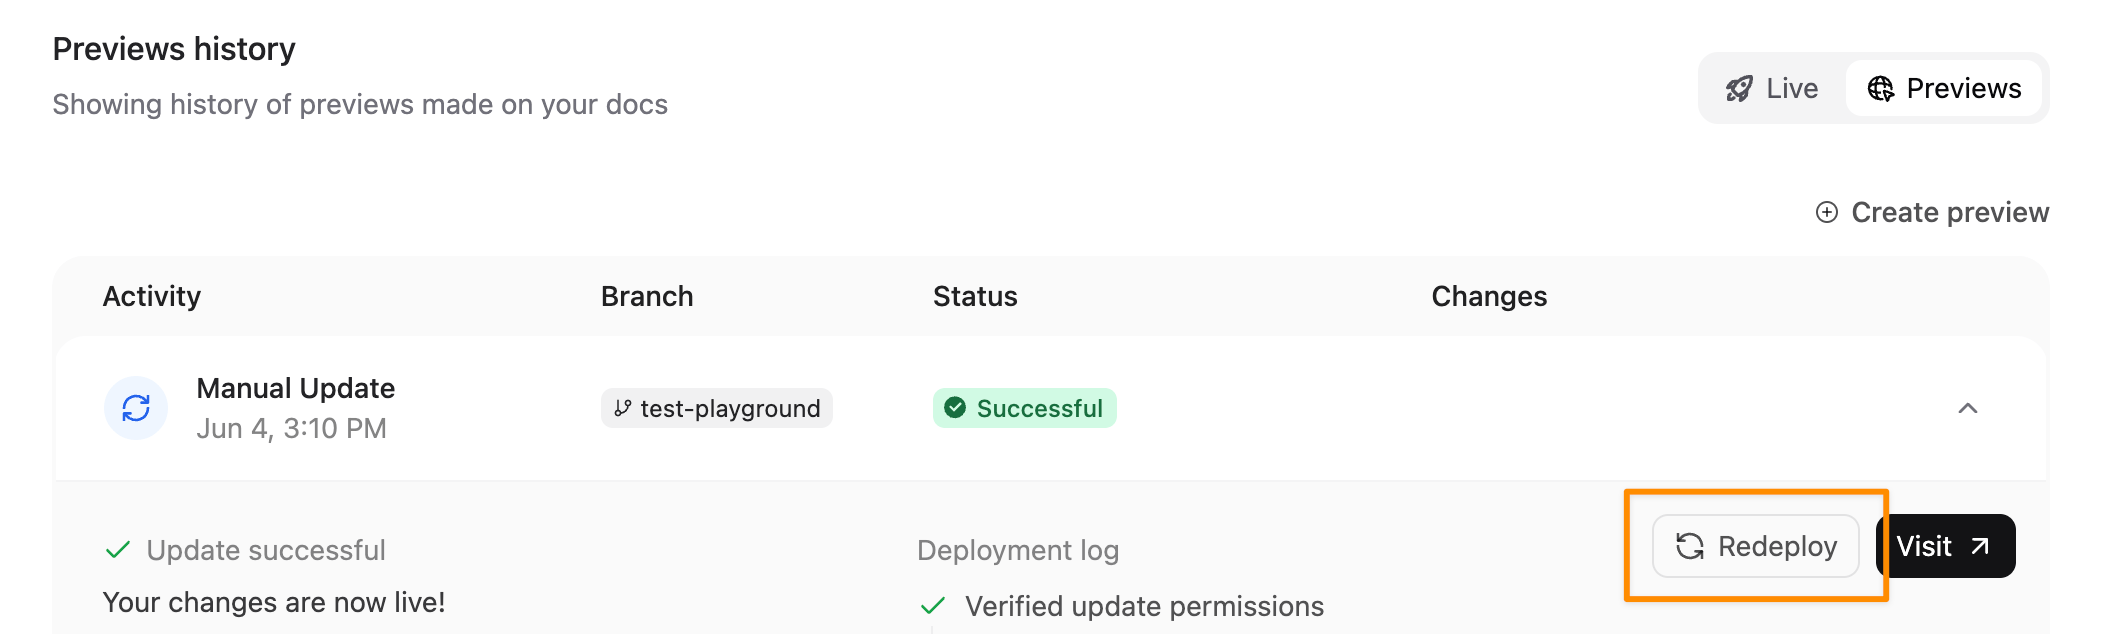
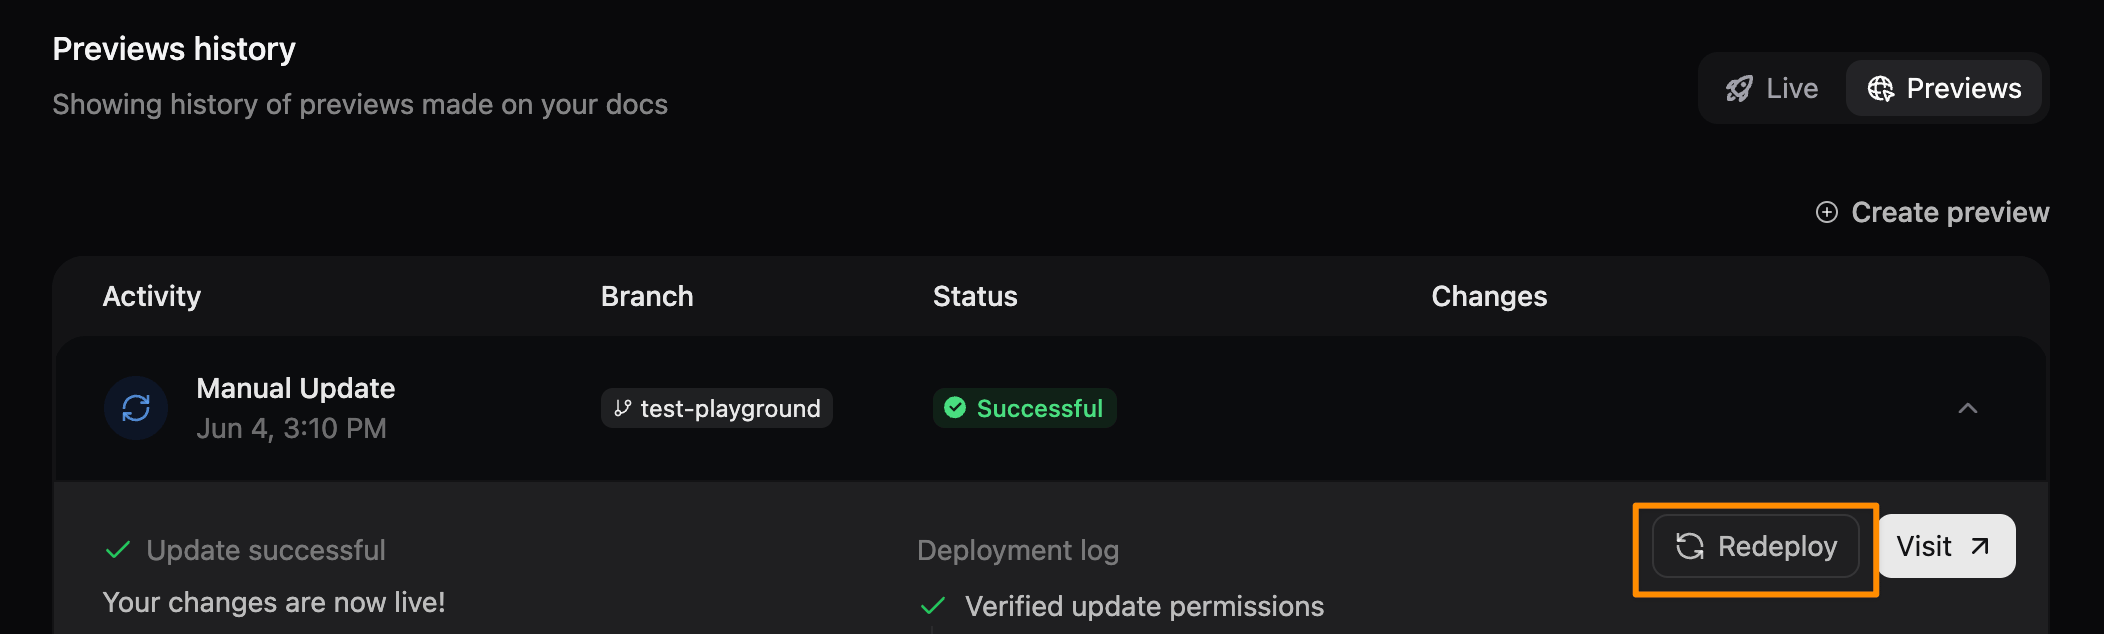
## 重新部署预览
当需要刷新内容,或在部署失败后重试时,可重新部署预览。
1. 在你的[控制台](https://dashboard.mintlify.com/)中选择该预览。
2. 选择**重新部署**。
## 预览小部件
预览小部件会显示在预览部署中,帮助你浏览和审阅更新后的页面。该小部件以悬浮按钮的形式显示在预览部署页面的右下角。
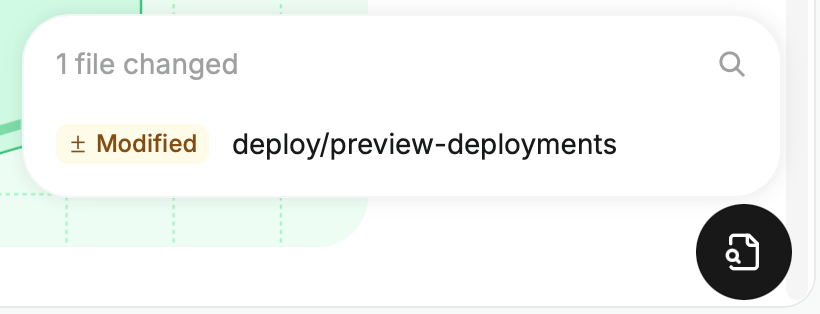
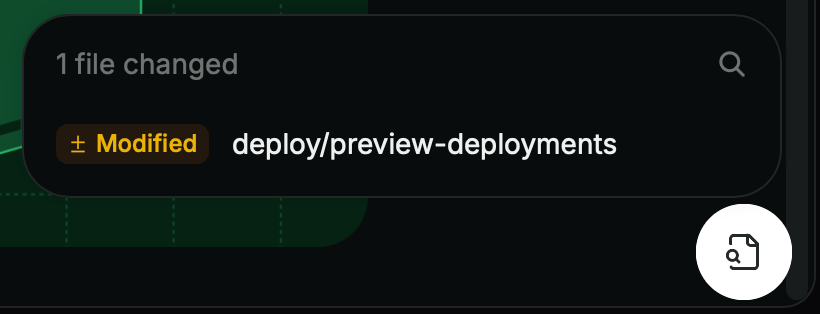 1. 点击小部件,在预览中显示所有新增、修改或删除的文件。
2. 点击某个文件,在对应页面上查看更改内容。
3. 使用搜索栏筛选已更改文件列表。
4. 将鼠标悬停在文件上,点击**在编辑器中打开**图标,直接在网页编辑器中编辑该文件。
该小部件只会显示在预览部署中,不会显示在已上线站点或本地预览中。
1. 点击小部件,在预览中显示所有新增、修改或删除的文件。
2. 点击某个文件,在对应页面上查看更改内容。
3. 使用搜索栏筛选已更改文件列表。
4. 将鼠标悬停在文件上,点击**在编辑器中打开**图标,直接在网页编辑器中编辑该文件。
该小部件只会显示在预览部署中,不会显示在已上线站点或本地预览中。
## 限制预览部署的访问权限
默认情况下,任何持有 URL 的人都可以访问预览部署。你可以通过要求所有预览进行组织身份验证,或为单个预览设置密码保护来限制访问。
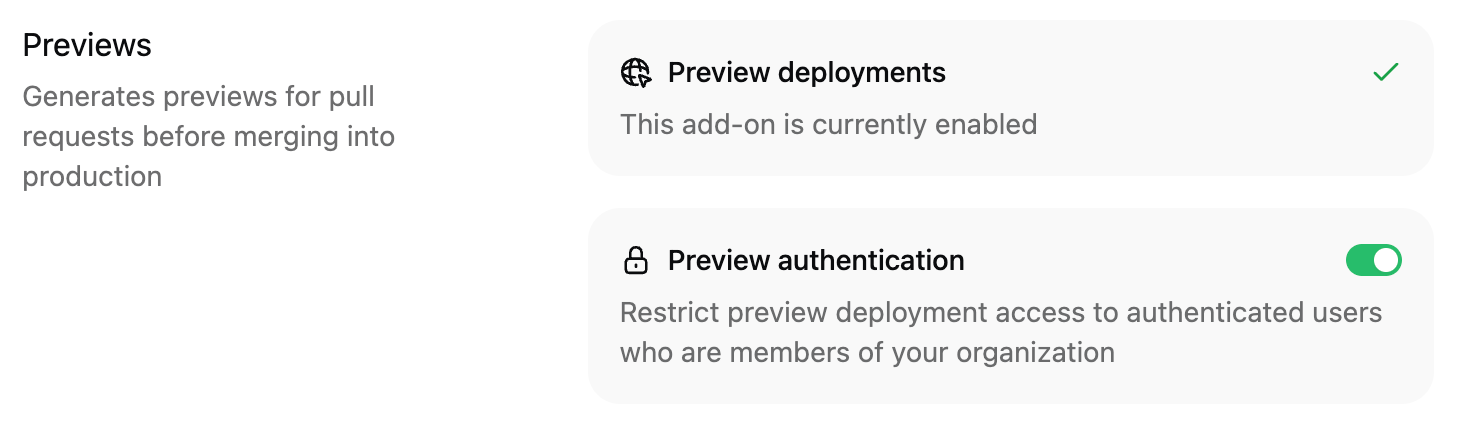
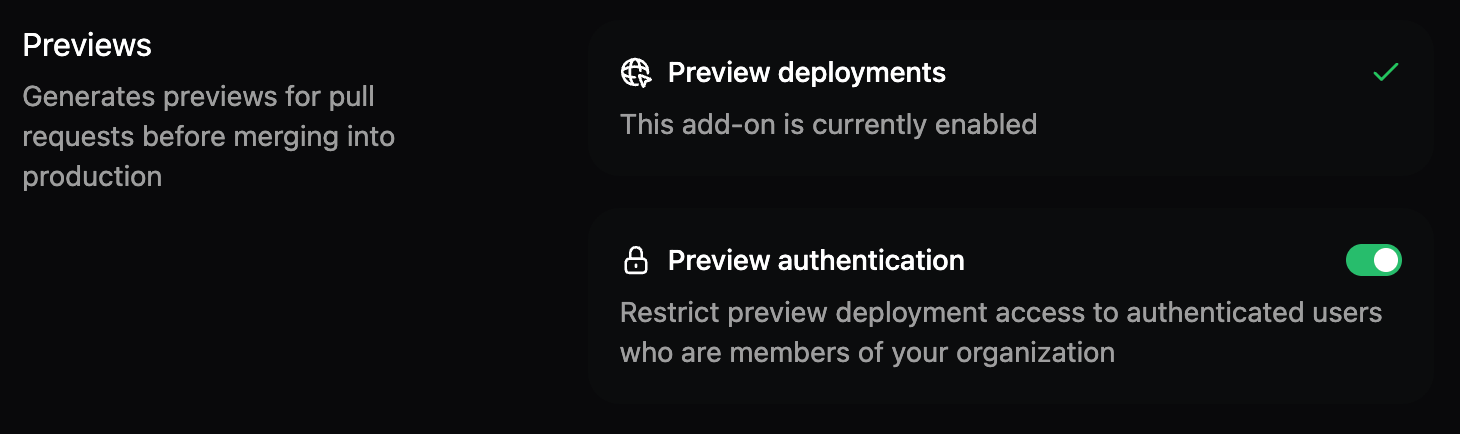
### 要求组织身份验证
将预览访问权限限制为 Mintlify 组织中的已认证成员。
1. 在控制台的 [附加组件](https://dashboard.mintlify.com/products/addons) 页面,进入 **Previews** 部分。
2. 点击 **Preview authentication** 开关以启用或禁用预览认证。
### 为单个预览设置密码保护
密码保护的预览适用于 [Enterprise 方案](https://mintlify.com/pricing?ref=preview-deployments)。
为特定预览设置密码保护,以便与外部审阅者共享,而无需将他们添加到你的 Mintlify 组织中。此选项在创建手动预览时可用,当你的部署已启用组织身份验证时不会显示。
1. 前往你的[控制台](https://dashboard.mintlify.com/)。
2. 选择 **Previews**。
3. 选择 **Create custom preview**。
4. 输入要预览的 branch 名称。
5. 开启 **Make private** 并输入密码。密码必须至少为 8 个字符。
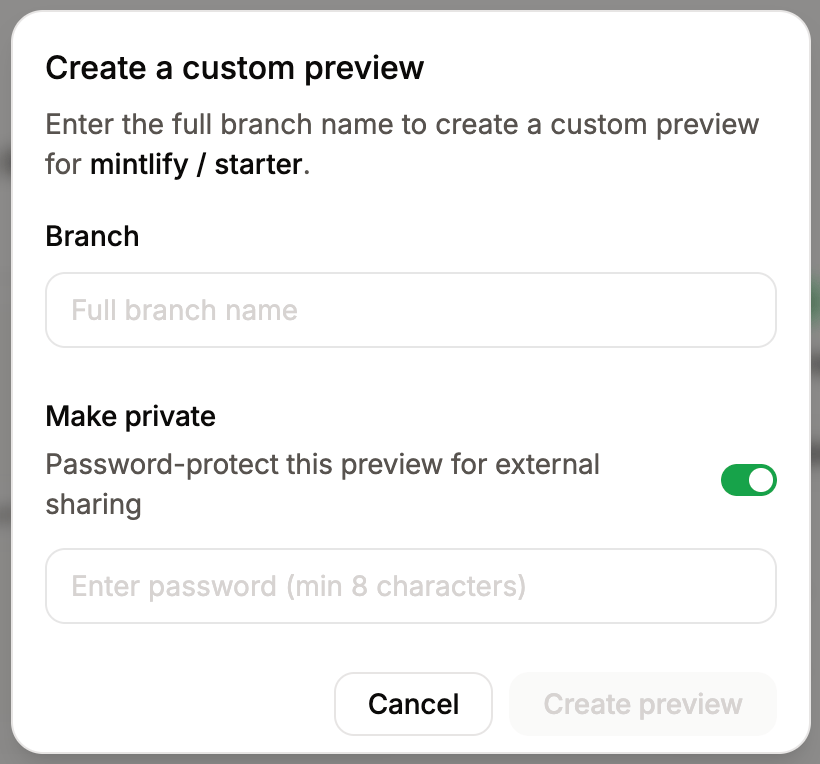
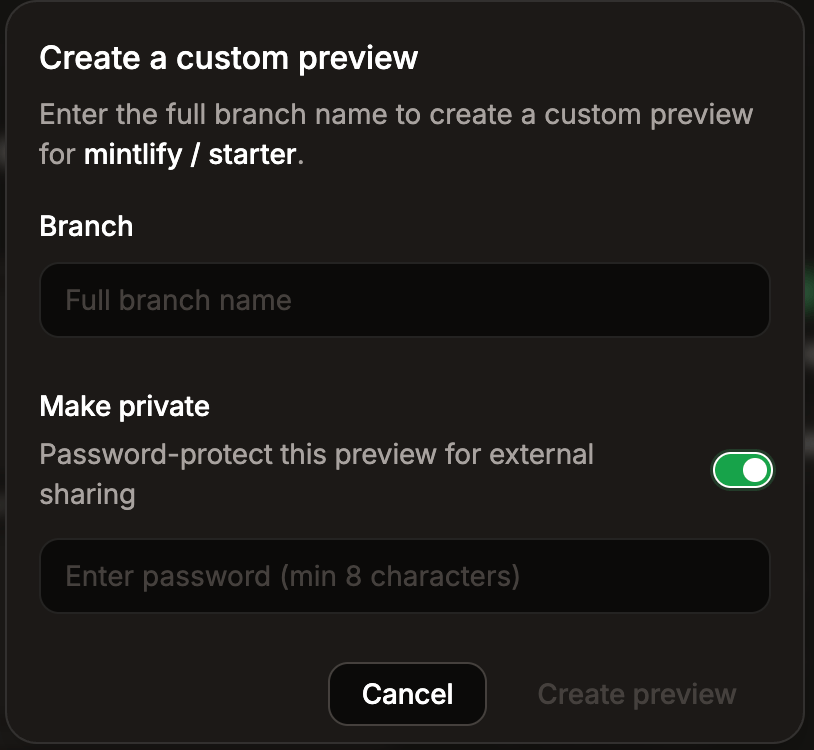 6. 选择 **Create preview**。
## 预览部署故障排查
如果预览部署失败,可以尝试以下故障排查步骤。
* **查看构建日志**:在你的[控制台](https://dashboard.mintlify.com/)中进入 **Previews**,并点击失败的预览。部署日志会显示导致失败的错误。
* **检查配置**:
* `docs.json` 语法无效
* 在导航中引用的文件路径缺失或不正确
* MDX 文件中的 frontmatter 无效
* 图片链接失效或缺少图片文件
* **在本地验证**:在本地运行 `mint dev`,在推送到存储库之前先发现构建错误。
* **检查最近的更改**:查看当前分支中最近的提交,以确认哪些更改导致构建失败。